“Bad libraries build collections, good libraries build services, great libraries build communities.”- R. David Lankes (An American Author)
The custom mobile app development industry is flourishing and with a whopping 2.2 million iOS applications and 2.8 million android applications, it is not going to slow down at any time soon. Looking up to its coherently growing demand, the companies are coming up with numerous tools and techniques to enhance the app developer as well as the user experience.
Android libraries are also one such contribution that has brought a difference in the Application development process, making it more proficient as well as productive. Being pre-written and pre-tested, the libraries save a lot of time for the developers, empowering them to focus on the main logic of the application, rather than spending their valuable time on the modules which are already present in the libraries.
The Ultimate Checklist for Building An Incredible Mobile App
Get this checklist in a portable document format & access it offline.
DOWNLOAD NOW
So, if you plan to develop an android application for your business, leveraging android libraries in your development process can make a huge difference. There are numerous Android libraries on the market ranging from the user interface to the backend, to native component usage, and so forth, hence choosing the best among them can be overwhelming.
To help you with the same we have compiled a list of the best Android libraries that you can include in your app development process. By the end of this article, you will be able to identify the greatest Android libraries and what their strengths are. So, without further ado, let’s dive in-
List of Best 15 Android Libraries with Categories for 2022 –
- Dagger 2
- Retrofit
- Picasso
- Glide
- CAMViews
- Zxing
- Holo Graph Library
- MPAndroidChart
- Gravity View
- Espresso
- Mockito
- Stetho
- RxJava2
- Android Data Binding
- ExoPlayer
1. Dagger 2
Category: Dependency Injector
The Android applications are dependent on various libraries to function properly, requiring them to instantiate the objects, resulting in the formation of a dependency chain.
Dagger 2 proves to be one of the best dependency injector libraries that analyses the dependency chain and creates code for the entire process. The library speeds up the app development process, relieving you from writing the large boilerplate code.
Dagger 2 depends on Java processors for execution and unlike other Java-based dependency injector libraries, it does not require XML parse elements or face runtime dependency issues. Dagger 2 simplifies the configuration and testing of complex dependencies in the App development process.
To simplify the process further, you can use the powerful Hilt dependency injection framework. Hilt provides a standard way to incorporate Dagger dependency injection into an Android application, facilitating the dagger-related infrastructure for the Android Apps.
Steps to use Dagger 2 in your Android Project
- Define UserRepository
- Create the UserRepository by adding an @Inject annotation to the dedicated UserRepository constructor.
- Add the dependencies to the build.gradle file.
- Use the generated Dagger code.
2. Retrofit
Category: Networking
The process of making a network request and establishing a connection is quite a complex task, requiring you to create a URL connection, assure the compatibility of the data type of input stream, and then execute it by covering it in the AsyncTask. The main issue with this process is fetching data from the network, which becomes harder with the increase in the quantity, like in the case of APIs.
Retrofit, an android library for networking, simplifies this process, mapping the Application Programming Interface to the REST Client. The tagline of Retrofit – “ a type-safe REST client for Android and Java”, tells about the entire functionality of the library. Retrofit is an open-source Android library, which eases structured data transactions with the help of REST-based web services. It also assures the type safety of the transaction by validating it during the compilation.
Steps to use Retrofit in your Android Project
- Add Retrofit dependency file in build.gradle file.
- Add the Internet permission in the AndroidManifest.xml file to enable network transactions.
- Create POJO/Model Class to parse the JSON data
- Create a Retrofit instance.
- Define different API interfaces that can support network transactions.
- Define RestAdapter to implement the API.
- Finally, generate the data list and launch your app.
3. Picasso
Category: Image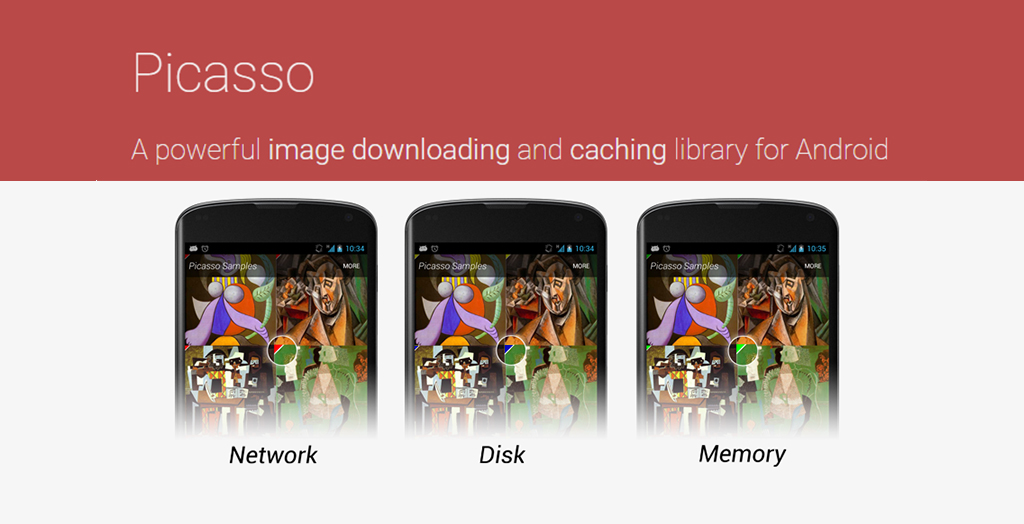
Picasso, a product of Square, is a robust and one of the most popular Android libraries that allows you to download and store images at utter ease. Images prove to be the easier and most effective way of conveying your message, making it comprehensible in the blink of an eye.
Picasso, a simple yet powerful library, is packed with a lot of amazing features, taking the image handling in Android to another level. Let’s check out the highlights of Picasso-
- Picasso empowers you to remodel the images to a smaller size or any other custom requirement, without compromising the quality.
- The Library enables you to transform complex images with minimum memory usage.
- With Picasso, you can use placeholder content on events like the occurrence of error and image download.
- It offers commendable memory management.
Steps to include Picasso in your Android project
- Create a project in Android Studio
- Include the required dependency in the app-level Gradle file
- Add InternetPermission to the AndroidManifest.xml file
- Add an ImageView to the layout of the activity_main.xml file of the application.
- In MainActivity.java, navigate to the layout and create the ImageView instance.
- You can then use Picasso to load images from the desired source.
4. Glide
Category: Image
Glide is a fast and efficient Android library that empowers you to load and cache images in the android application. Glide library, which majorly focuses on Smooth scrolling, is managed by Bumptech and recommended by Google. On Android, Glide concentrates on two key aspects of image loading performance- the decoding speed of the images and defects incurred during image decoding.
Glide library is loaded with a lot of amazing features, let’s take a look at some of its major highlights-
- Glide offers an easy to use API.
- Not only the images, but Glide also supports animated GIFs in android applications.
- With Glide, you can fetch, decode, and display video stills, images, and animated GIFs.
- The API present in the library enables the developers to get into any network stack, other than just the default one.
- It also helps in managing the video calls, i.e. loading, displaying, etc.
Steps to integrate Glide into your Android Project
- Add Glide to your dependencies in build.gradle.
- Create a layout resource for your project.
- Create the Fragment Class and load the images into ImageView through Glide.
- Adding the Fragment to the Activity through the Navigation Component
- Add Internet Permission to the Android Manifest
- Synchronize Gradle and once it is complete you can now use Glide for image loading.
5. CAMViews
Category: Scanner
CAMViews is an android library that allows the application to access the device camera and perform tasks. Including the library in the code, automatically empowers your application to capture and preview the videos and scan the barcodes, and process them instantly.
CamView can be implemented in 4 simple steps-
- Add the appropriate component to the layout.xml barcodes, after which ScannerLiveView will be ready to use the barcode scanner.
- As soon as you get the CameraLiveView or ScannerLiveView instance, you can start the desired camera.
- You must set your barcode listener in the ScannerLiveView instance that is setScannerViewEventListener(…) to recognize barcodes.
- Make sure you stop all previews and working threads when your activity ends. For this, you can use the calling stopCamera() or stopScanner() method.
CAMView simplifies the entire process, hiding all the complexities in a single component. All you need to do is to place the component in the existing View hierarchy of the application, doing this enables your application to use the camera of the device and take inputs.
Best 5 Technologies to Develop Incredible Mobile Apps in 2022
Explore
6. Zxing
Category: Scanner
ZXing i.e. Zebra Crossing is an open-source barcode scanning android library that integrates QR code processing to the applications through which it can scan barcodes and process them. There is support for both 1D and 2D barcode processing in this library.
Being implemented in Java, ZXing makes it easier for the developer to create a cross-platform barcode scanner-enabled software. ZXing indexes the barcodes on the web, making it get found through web searches, hence it has been used by Google in many of its products including Google Books.
Steps to use Zxing in your Android Project
- Download the ZXing library.
- Extract all the ZXing files
- Download and install Apache Ant.
- Navigate to the extracted directory through the Windows command line and execute the code ‘ant -f core/build.xml’.
- Import the project into the Android Studio and select the library to use it.
7. Holo Graph Library
Category: Graphics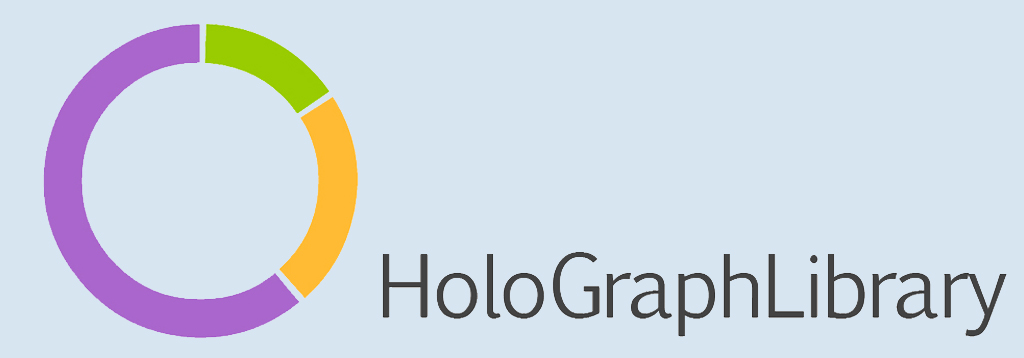
Holo Graph Library is a popular graphics library that is used in android applications that are intended to create graphs and charts for the users. It is an open-source library that provides graphs that can be added to an android application.
Its biggest strength is that the library, based on the Holo style of Android, is completely compatible with all modern and standard-compliant applications. There are four types of graphs included in the library:
- Bar Graph
- Line Graph
- Pie Graph
- Multiseries Donut Graph
Steps to use Holo Graph Library in your Android Project
- Select the type of graph you want to add to your project.
- Then select the desired graph file in the source repository and move it into your project.
- Change the name of the package for all the library classes i.e “package com.echo.holographlibrary” to your project’s package name.
- Add an XML tag for the chosen graph to your layout.
- Add the necessary code with the coordinates to your project.
8. MPAndroidChart
Category: Graphics
Managing huge datasets is quite a strenuous task, where charts and graphs come out with a handy approach to visualize and analyze the data at a glance. MPAndroidChart is one such library that helps in creating graphs and charts, such as Line Graph, Bar chart, Bubble chart, Radar Chart, and Pie Chart. Moreover, MPAndroidChart allows you to scale and animate charts and graphs, making them more interactive and comprehensible.
To include the MPAndroid library in your Android project, you need to follow these steps:
- Download the latest version of the MPAndroid library from Github.
- Add jar files of the library to your project’s library directory.
- Add it as a library to your project through Android Studio.
9. Gravity View
Category: UI Component
Gone are the days, when you had to scroll through several images to view a product from various angles. Gravity View has transformed the traditional way of viewing the image over Android devices, allowing you to move the device as per the requirement rather than swiping.
To do this, Gravity View makes use of the readings of the Gyroscope sensor, that tracks the rotation of the device. The motion sensors in the library empower users to tilt the images according to the movement of the device and explore them from various angles.
Steps to Integrate Gravity View in your Android Project
- Include the Gravity View library in your build.gradle dependencies.
- Then synchronize your Gradle and add the changes in the XML layout file
- Start Gravity View in your activity/fragment
- Register and unregister the library in your OnResume() and OnStop() of the fragment.
10. Espresso
Category: Debugging
Espresso is an open-source Android testing library, developed by Google. With this library, Android app developers can easily create concise and dependable UI tests. These tests can be written in Java as well as Kotlin.
Espresso is a library that would be ideal for developers who value automated testing as a critical step in the development process. It works great for the black-box testing of the project.
Test execution is much quicker with Espresso because it doesn’t have the distractions of boilerplate content, custom infrastructure, or complicated implementation details. By automating User Interface testing and synchronizing the changes in parallel, Espresso accelerates the development process.
Step to set up the Espresso library in your Android Project
- Configure your test environment.
- Include Espresso dependencies in build.gradle.
- Set the instrumentation runner, and you’re good to go.
11. Mockito
Category: Debugging
Mockito is a framework based on Java used for unit testing of the application modules. The library allows you to write comprehensible tests for the Android application. Mockito mocks the interfaces with the goal that a module can be added to it and then tested for its functionality and compatibility with other modules. The advantage of using Mockito is that it allows you to test the modules in isolation, without affecting the actual application.
Steps to use Mockito in your Android Project-
- Install and declare a dependency on the “mockito-core” library using a build system, such as Maven or Gradle.
- Verify the interactions with the verify() method.
- Stub method calls.
12. Stetho
Category: Debugging
Stetho is a library introduced and managed by Facebook, which allows us to use Chrome debugging tools to test the network traffic, view layouts, as well as database files easily. When you use Stetho, you don’t need to add and remove logs during development and release.
Once you enable Stetho, you no longer need to use a debugger for your application, as you can get it right inside your chrome browser. To use this library, use a device or emulator that is currently running, and connect with Chrome via chrome://inspect.
Steps to use the Stetho library in your Android Project-
- Add Gradle dependencies.
- Initialize Stetho
- Compile and install your app on the emulator or your Android device.
- Inspect the network connections, query the databases, and manipulate the app preferences using Chrome’s DevTools via chrome://inspect
13. RxJava2
Category: Reactive Programming
Managing the changes in the dynamic inputs is a challenging task that comes up in the Android app development process. Earlier to update the variable, you were required to explicitly set the values of variables.
RxJava2 or Reactive X Java, an android library for event-based programs, has made the process easier by reflecting the changes in the input. RxJava2 works wonders in chaining the asynchronous task as well as managing the errors.
Steps to create RxJava-
- Create an Observable- a class that emits a stream of data.
- Create an Observer- a class that receives events and also acts on them.
- Subscribe- create a bridge between Observable and Observe.
14. Android Data Binding
Category: View Binding
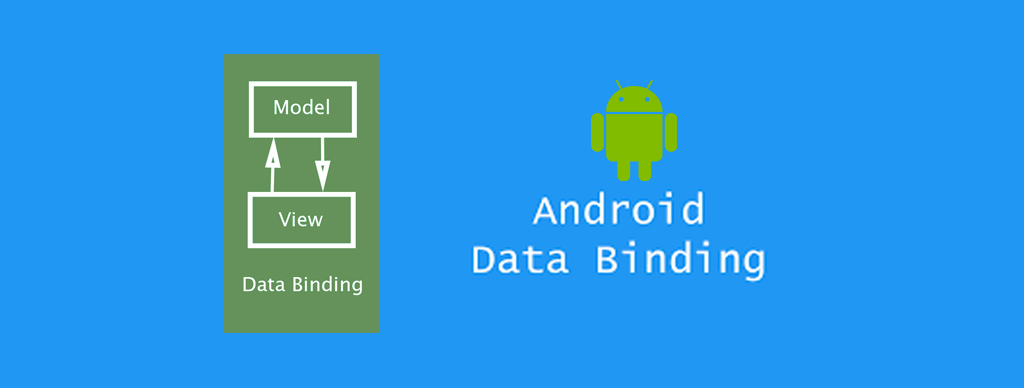
The Data Binding Library is a support library that enables you to bind User Interface components in your application with the sources of data used, however with the declarative format rather than programmatically.
Android Data Binding proves to be an extremely helpful library, addressing issues like clarity in the code structure, readability, and higher debugging time. Data Binding Library reduces the code related to the view or User Interface of the application, making it easier to manage the code as well as the errors.
Steps to use the Data Binding library in your Android Project
- Download the Data Binding library from the Support Repository in the Android SDK manager.
- To configure your app for data binding, make sure that the dataBinding build option is enabled in your build.gradle file.
15. ExoPlayer
Category: Media Player
ExoPlayer, an open-source library managed by Google, is an application-level Android media player that plays audio and video both offline and online. Unlike other Android media players, ExoPlayer is easier to personalize as well as includes Smooth streaming playbacks. The play store allows you to update it.
Steps to use ExoPlayer in your Android Project
- Add ExoPlayer dependency to your project.
- Create an instance of ‘SimpleExoPlayer’.
- Connect the player to a view.
- Add the ‘MediaItem’ to the player to play.
- Release the player when done.

The Ultimate Checklist for Building An Incredible Mobile App
Get this checklist in a portable document format & access it offline.
DOWNLOAD NOW
Want to Unlock the Power of Libraries in your App Development Process?
Upgrade your App development style!
A very popular quote by Emmert Wolf says- “ A man is only as good as his tools”, which resonates with the developers in a way.
For the developer, the tools are the libraries, software, and frameworks they use for developing their products/applications. The use of libraries can significantly impact both the productivity of developers and the quality of their products.
By utilizing reusable components, Libraries reduce the complexity of the app development process, making it faster and more efficient. Therefore, finding the right library is crucial to creating a successful, high-performing application. As you now have a list of potential Android libraries to choose from, you can take your app development process to a whole new level. For further queries and assistance, Reach out to us.









Leave A Comment